How to Install Wall Panelling
This entry was posted on Jan 17, 2014 by speedy-bedInstalling pvc wall panelling is an excellent alternative to traditonal tiling or plastering that can be used in any room of your home or even business to create a virtually maintenance free surface that’s also waterproof, hygienic and mould free. Available in the following two different size panels:
250mm wide x 2.7mtr long x 5mm thick panels
1000mm wide x 2.4mtr long x 10mm thick panels
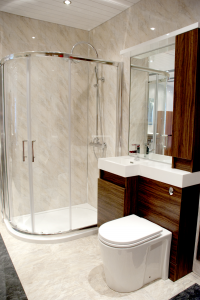
One advantage of being waterproof is they can be installed in a kitchen, bathroom or shower room and not be affected by condensation and there’s up to ten finishes to choose from, so plenty of choice to cater for all tastes.
Fitting
Fitting is usually done in one of two ways, the first being that as long as the surface to be covered is flat, and clean the panels can be placed directly onto the tiles etc using a fixing adhesive.
The second method being a bit more time consuming, as it involves fixing a 2 x 1 wooden batten frame to the wall first using suitable wall fixings spacing the battens at a distance of approx 300 – 400mm apart, then fixing the panels to the batten.
Application
Starting at the one end of the wall usually with a suitable end trim such as a scotia trim to start off, you’ll screw or pin the first panel’s tongue side into place under the trim then fix the groove end of that panel with the fixings into the batten before offering up the next panel’s tongue end into the grove of that previous panel and then so on with each panel till you reach the other corner, or end of that section of wall to be covered, where you may need to make a cut, and then fix into place another end trim. Full specifications including colours are available on this website so please take a look.
For further information on how to install wall panelling, please do not hesitate to contact Speedy Plastics and Resins on local number (0844) 8586670, and our team will be delighted to help.

